Using inMotion Track
Installing the app
inMotion Track is available free for iOS and Android.


Once installed, launch the app from your home screen by tapping the inMotion icon.
Once installed, launch the app from your home screen by tapping the inMotion icon.
Launch the app
On first launch you'll be asked to approve a couple of permissions the app needs to track your activities -
what to expect depends on your platform:
- Access to location - required to track your activities. We recommend choosing Allow While Using App. Your location is only recorded on the device once you've started or resumed an activity.
- Send notifications - optional. Notifications alert you to significant events, such as loss of connectivity to a device, and can be raised even while the app is in the background.
Logging in
Enter your inMotion email or username and password, then tap Login - this only
becomes available once both fields are filled in.
Don't have an account yet? Tap Signup. Forgotten your password? Tap Reset. Both take you to inMotion Cloud, so you'll need an internet connection for either.
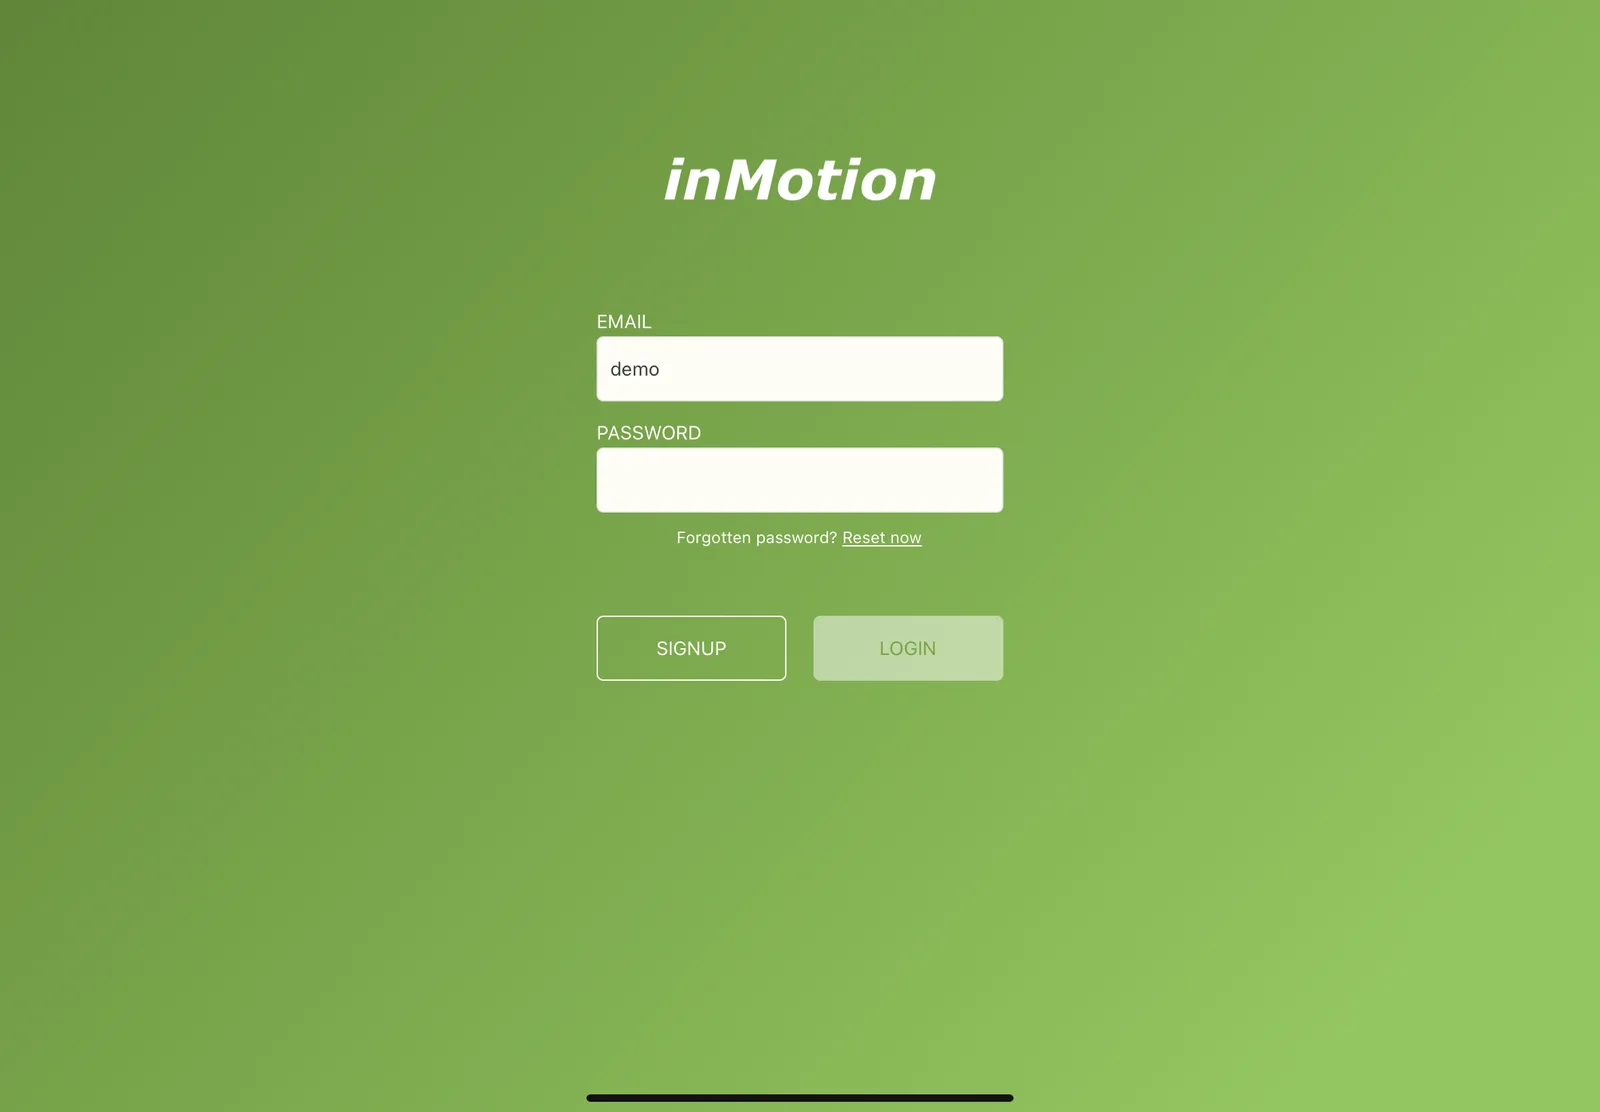
Don't have an account yet? Tap Signup. Forgotten your password? Tap Reset. Both take you to inMotion Cloud, so you'll need an internet connection for either.
Navigating around the app
Open the menu from the hamburger icon (≡), or swipe from the edge of the screen. There are five sections:
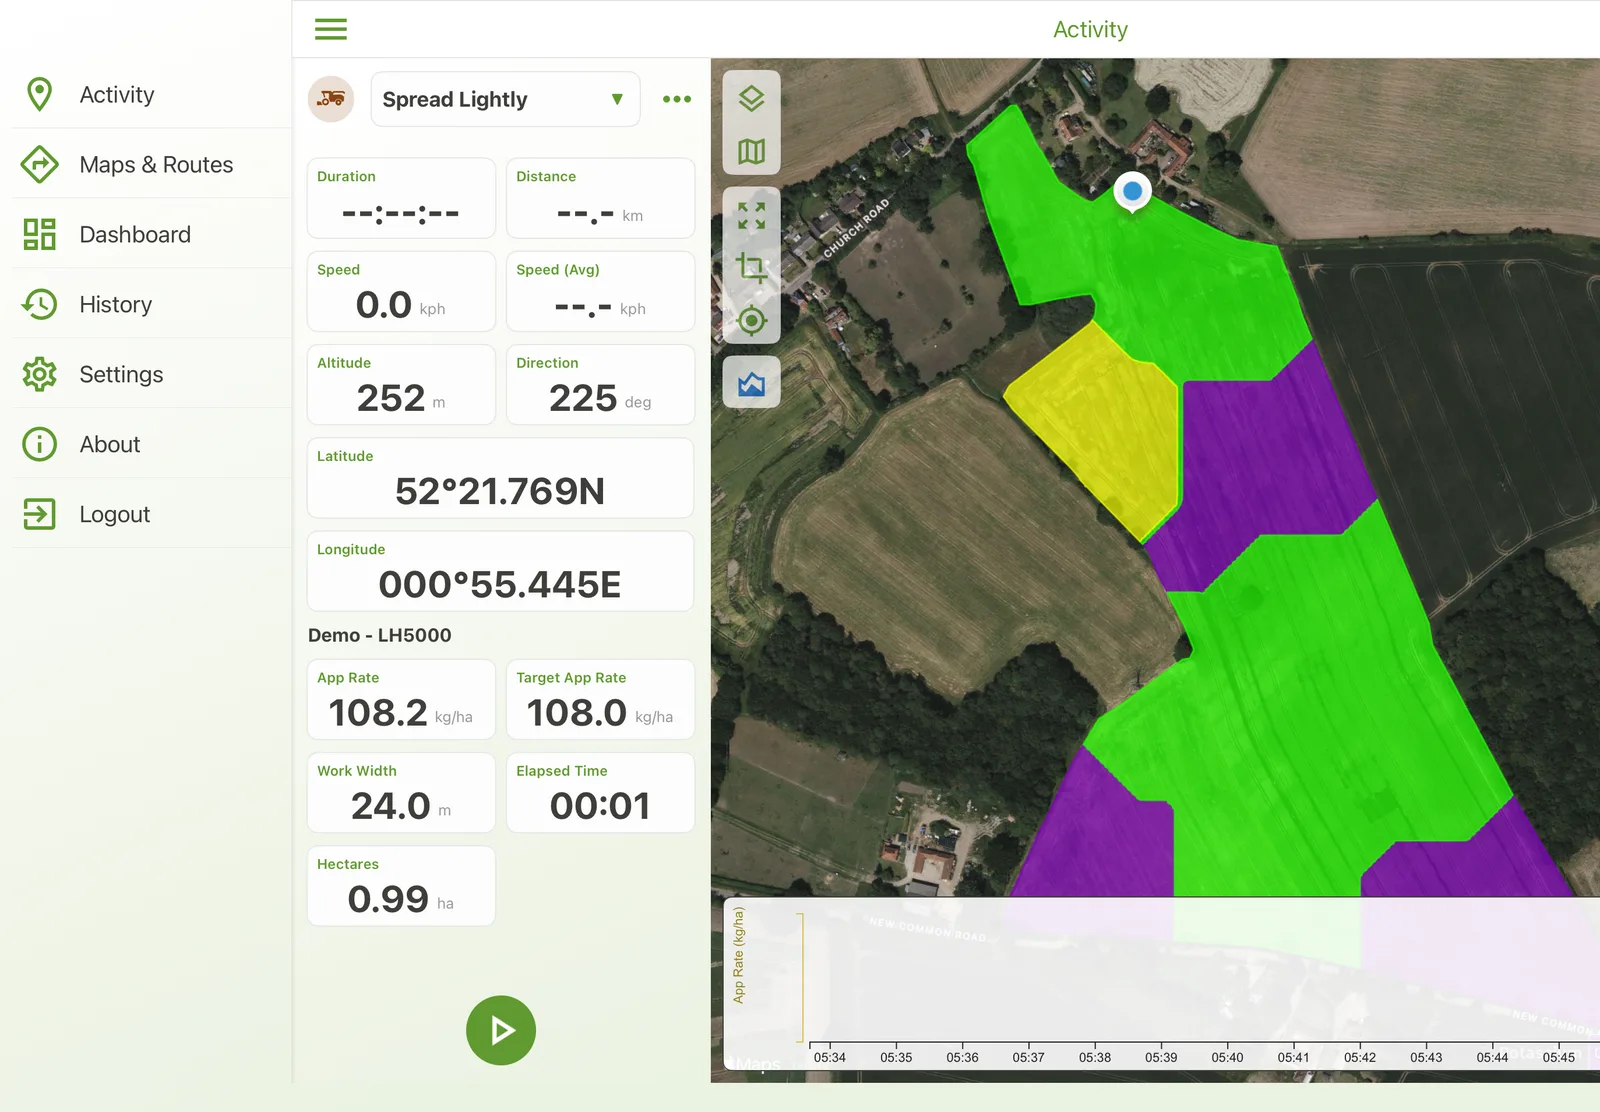
- Activity - details, map, and time-series for the current activity; select or edit its configuration.
- Maps & Routes - manage downloaded overlays.
- Settings - change how the app behaves.
- About - version and contact details.
- Logout.
Recording an activity
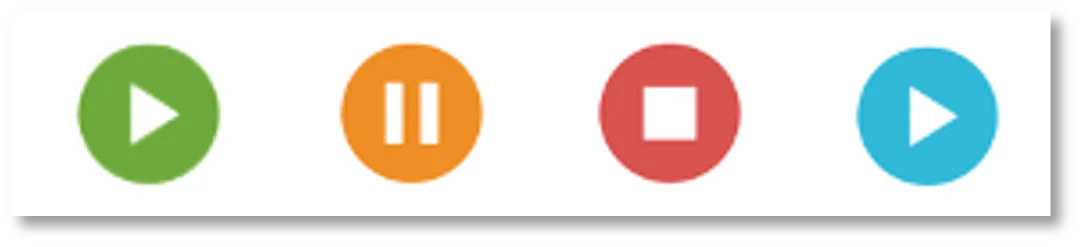
The Activity screen records and monitors an activity based on a selected activity profile, using four controls:
Start, Pause, Stop, and Resume.
While recording, the app captures your physical location and metrics, plus any sensor data configured for the activity profile - how often it updates depends on that profile's configuration.
If auto-sync is enabled in Settings, captured activity data is automatically uploaded to inMotion Cloud.
The fields shown depend on the activity profile - a spraying activity, for example, adds tank volume, spray rate, and area covered alongside the usual position and speed. Tap the map icon to switch to a live map view of your route, with a heading and speed graph underneath.
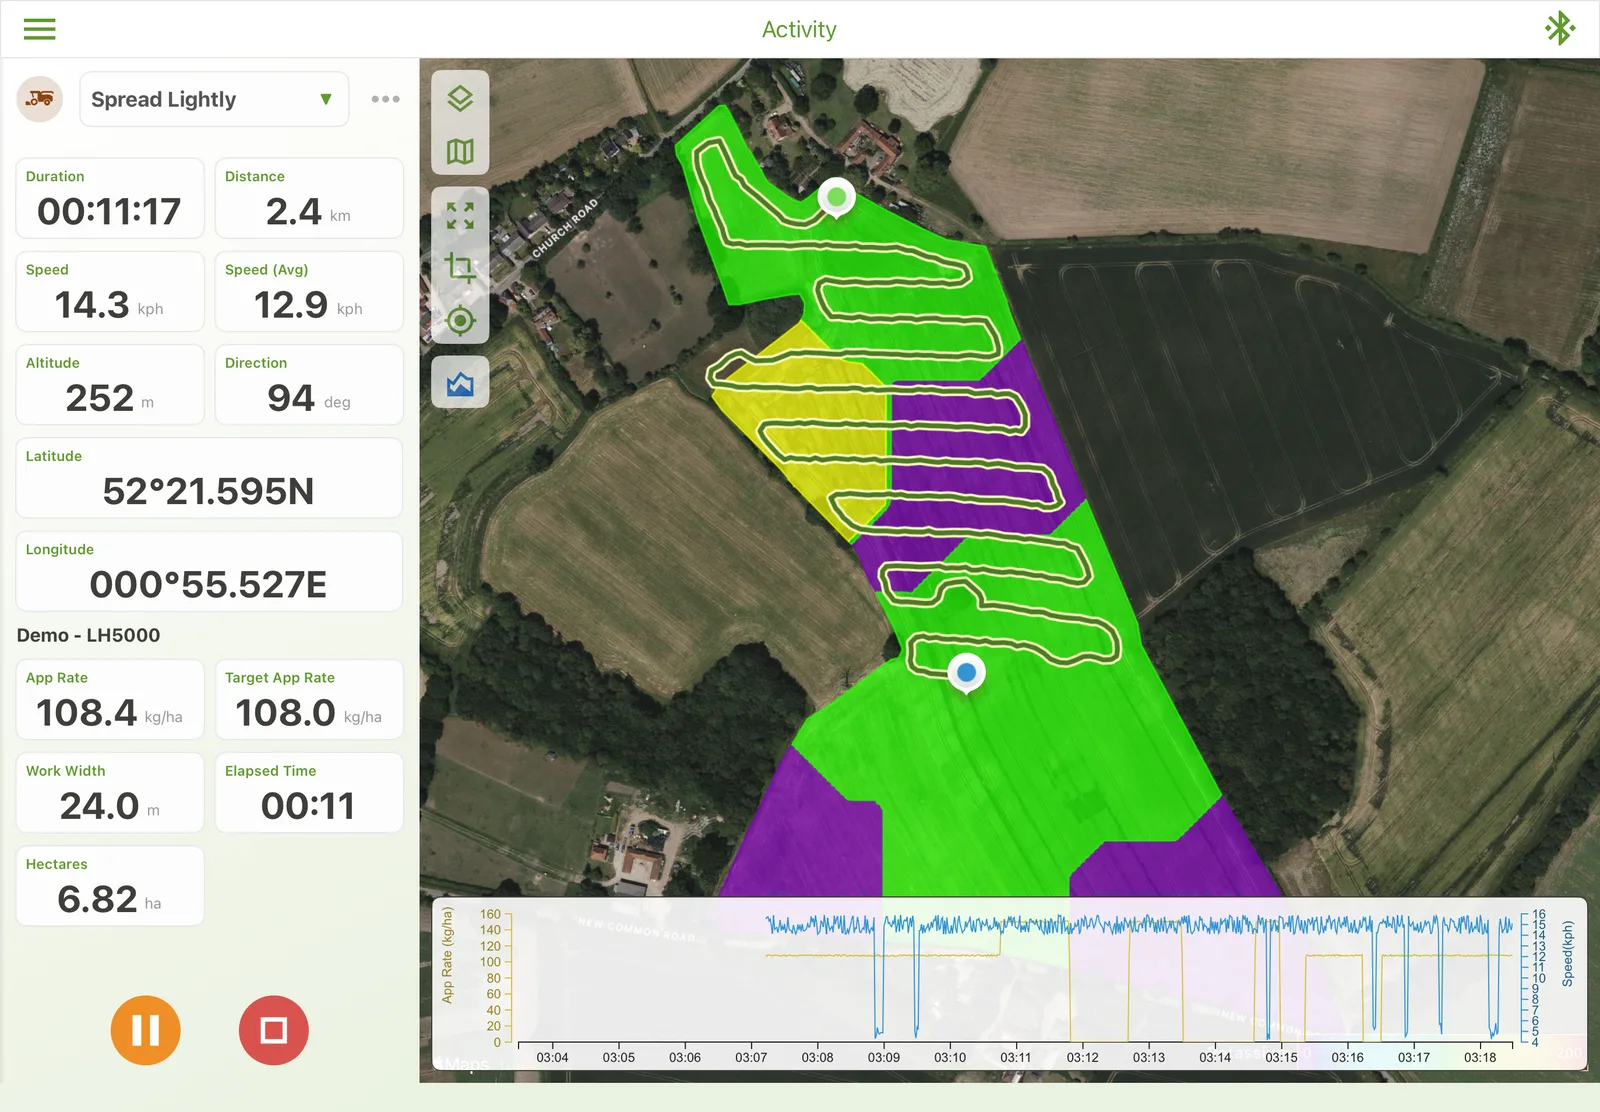
While recording, the app captures your physical location and metrics, plus any sensor data configured for the activity profile - how often it updates depends on that profile's configuration.
If auto-sync is enabled in Settings, captured activity data is automatically uploaded to inMotion Cloud.
The fields shown depend on the activity profile - a spraying activity, for example, adds tank volume, spray rate, and area covered alongside the usual position and speed. Tap the map icon to switch to a live map view of your route, with a heading and speed graph underneath.
Configuring an activity profile
An activity profile defines the type of activity to be undertaken - how its location is captured, and which
sensors (for example heart rate, or an automatically calculated value like application rate) are associated
with it. From the profile screen you can rename it, add a description or free-text tag, choose the location
adapter, and add or delete sensors.
A new sensor can be added with the + button if the activity type supports it. Each sensor has a type, and may have configurable parameters. Sensors that need Bluetooth will prompt you to pair with the device the first time - the pairing is then remembered for that device.
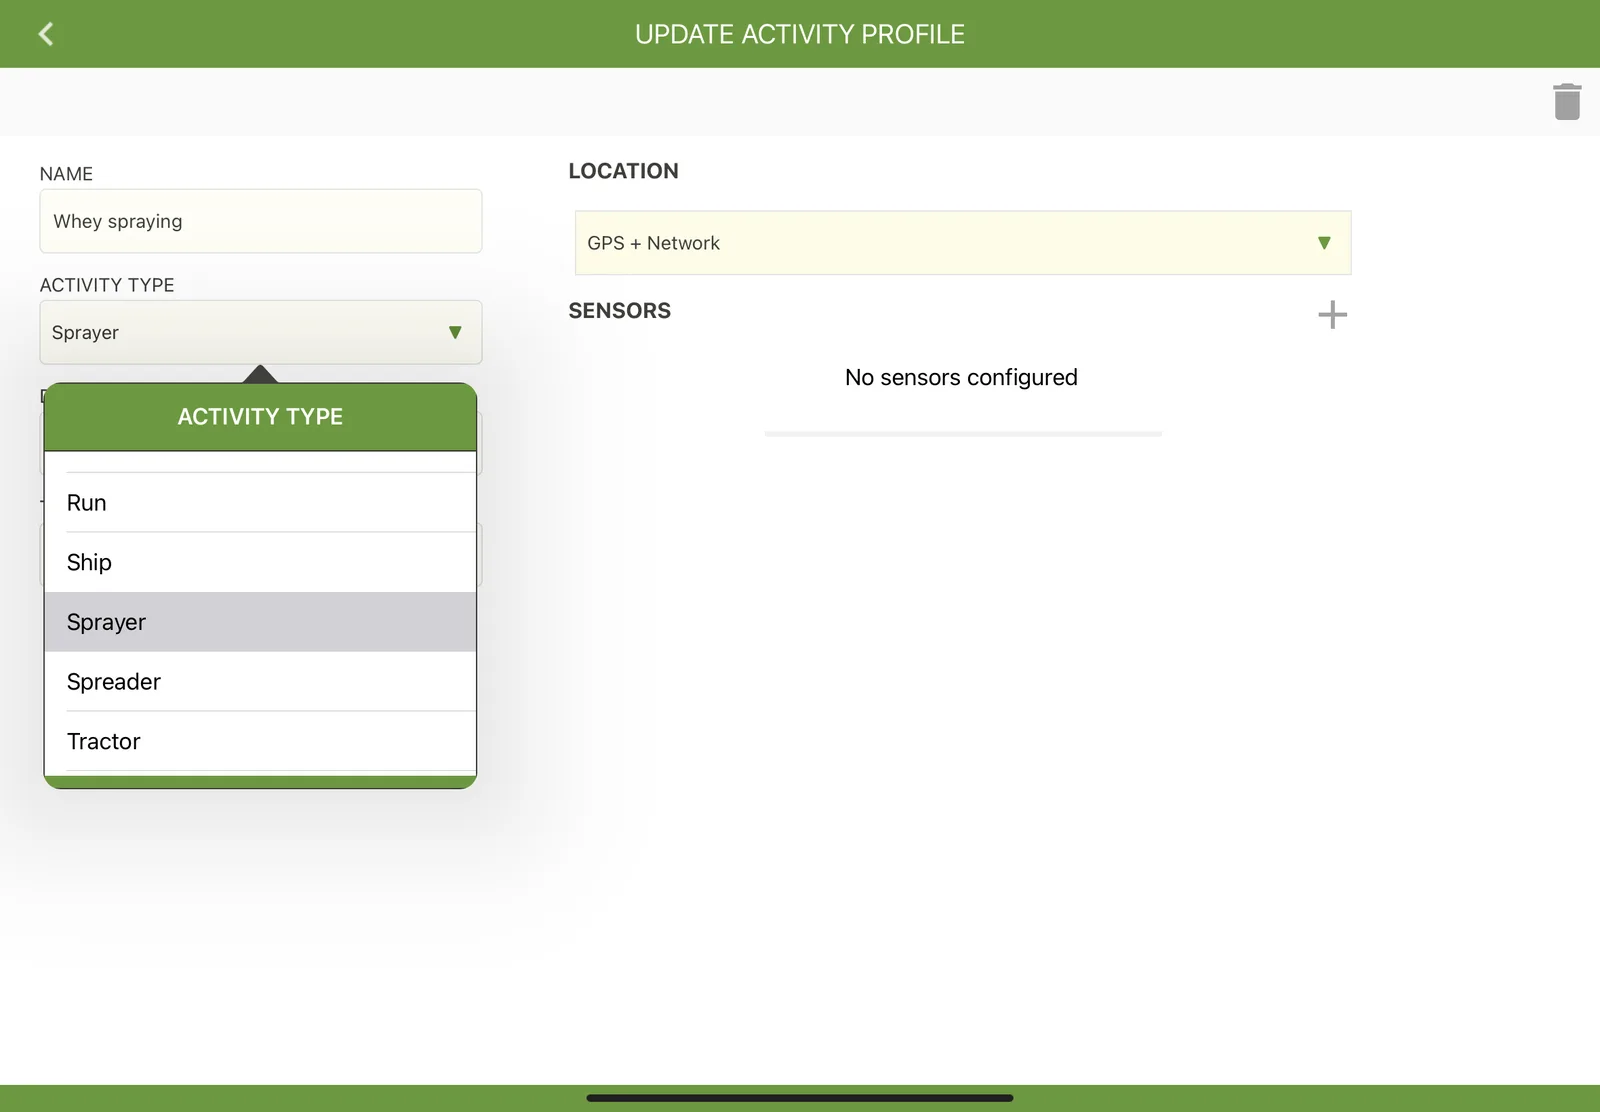
A new sensor can be added with the + button if the activity type supports it. Each sensor has a type, and may have configurable parameters. Sensors that need Bluetooth will prompt you to pair with the device the first time - the pairing is then remembered for that device.
Managing maps & routes
Maps and routes uploaded to your inMotion Cloud account can be downloaded to the
app for use as backdrops, route guides, or prescription maps that control an activity. Select an account to
download from, then tap the download icon next to any map or route in the list.
Once downloaded, select a map from the list, or from within the activity monitoring screen, and change its layer (satellite, hybrid, terrain, aerial, or hybrid aerial) as needed. Swipe left on a map to remove it - removing a map from the app doesn't remove it from inMotion Cloud, and vice versa.
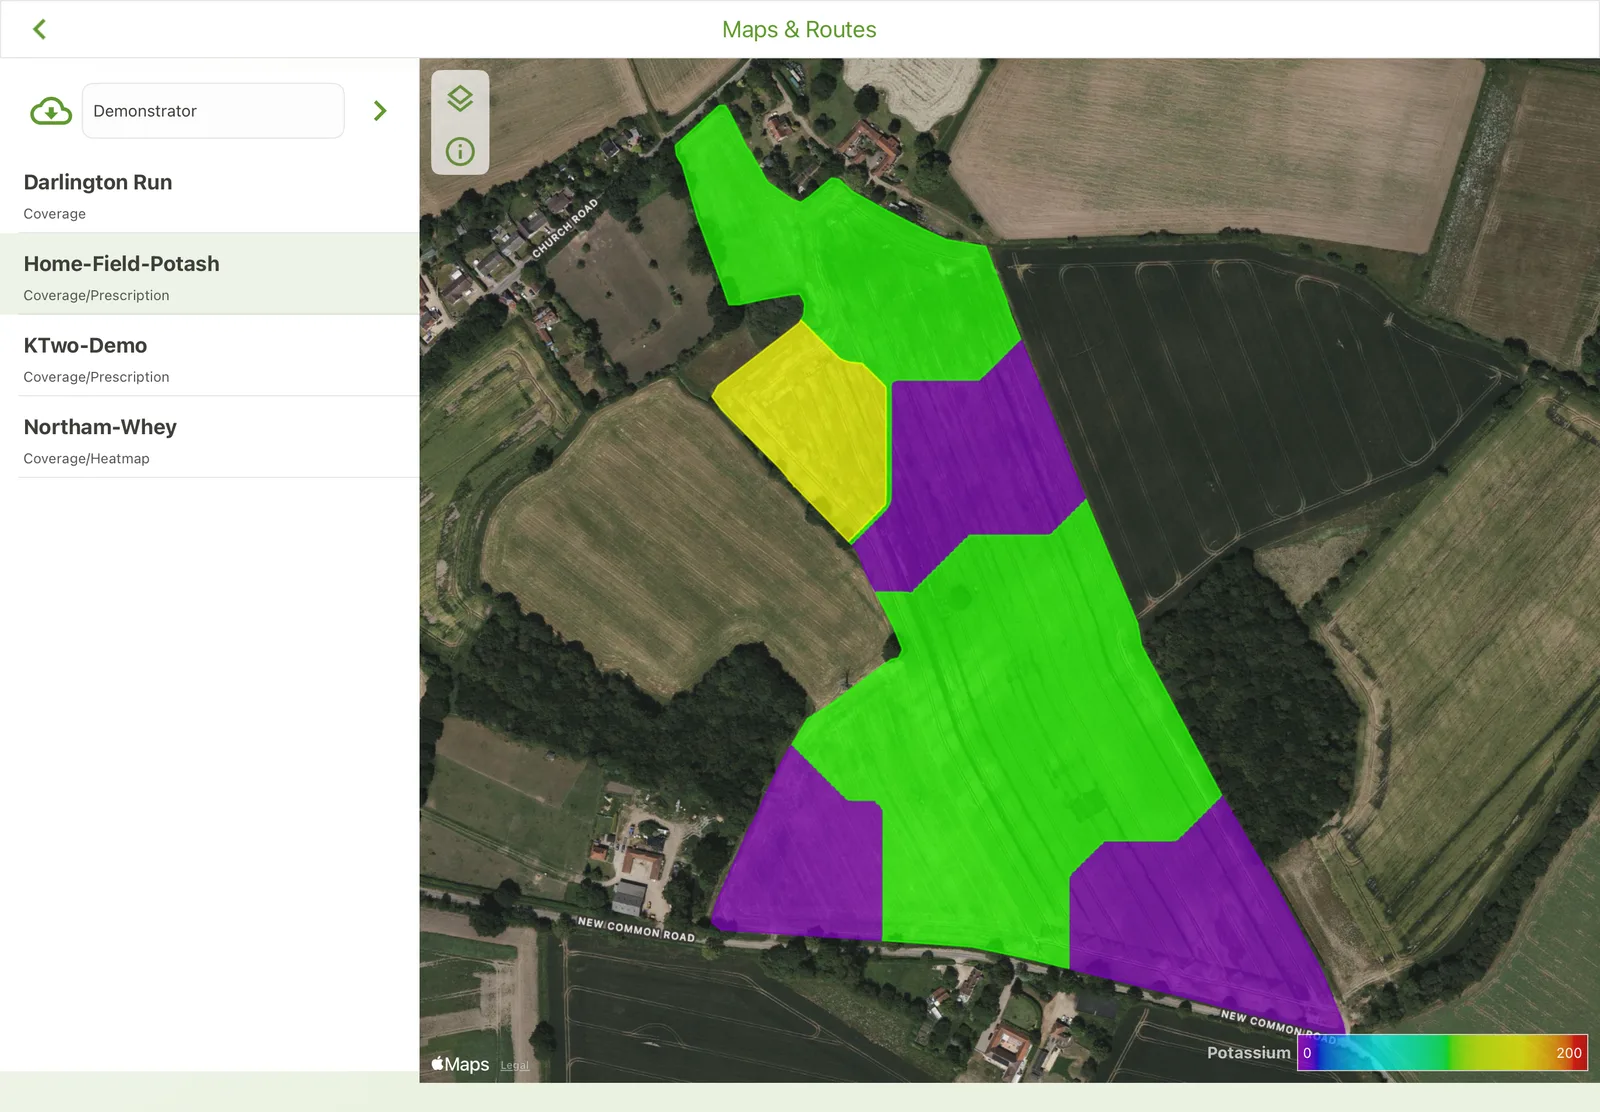
Once downloaded, select a map from the list, or from within the activity monitoring screen, and change its layer (satellite, hybrid, terrain, aerial, or hybrid aerial) as needed. Swipe left on a map to remove it - removing a map from the app doesn't remove it from inMotion Cloud, and vice versa.
Managing settings
The Settings screen controls how activity data is managed:
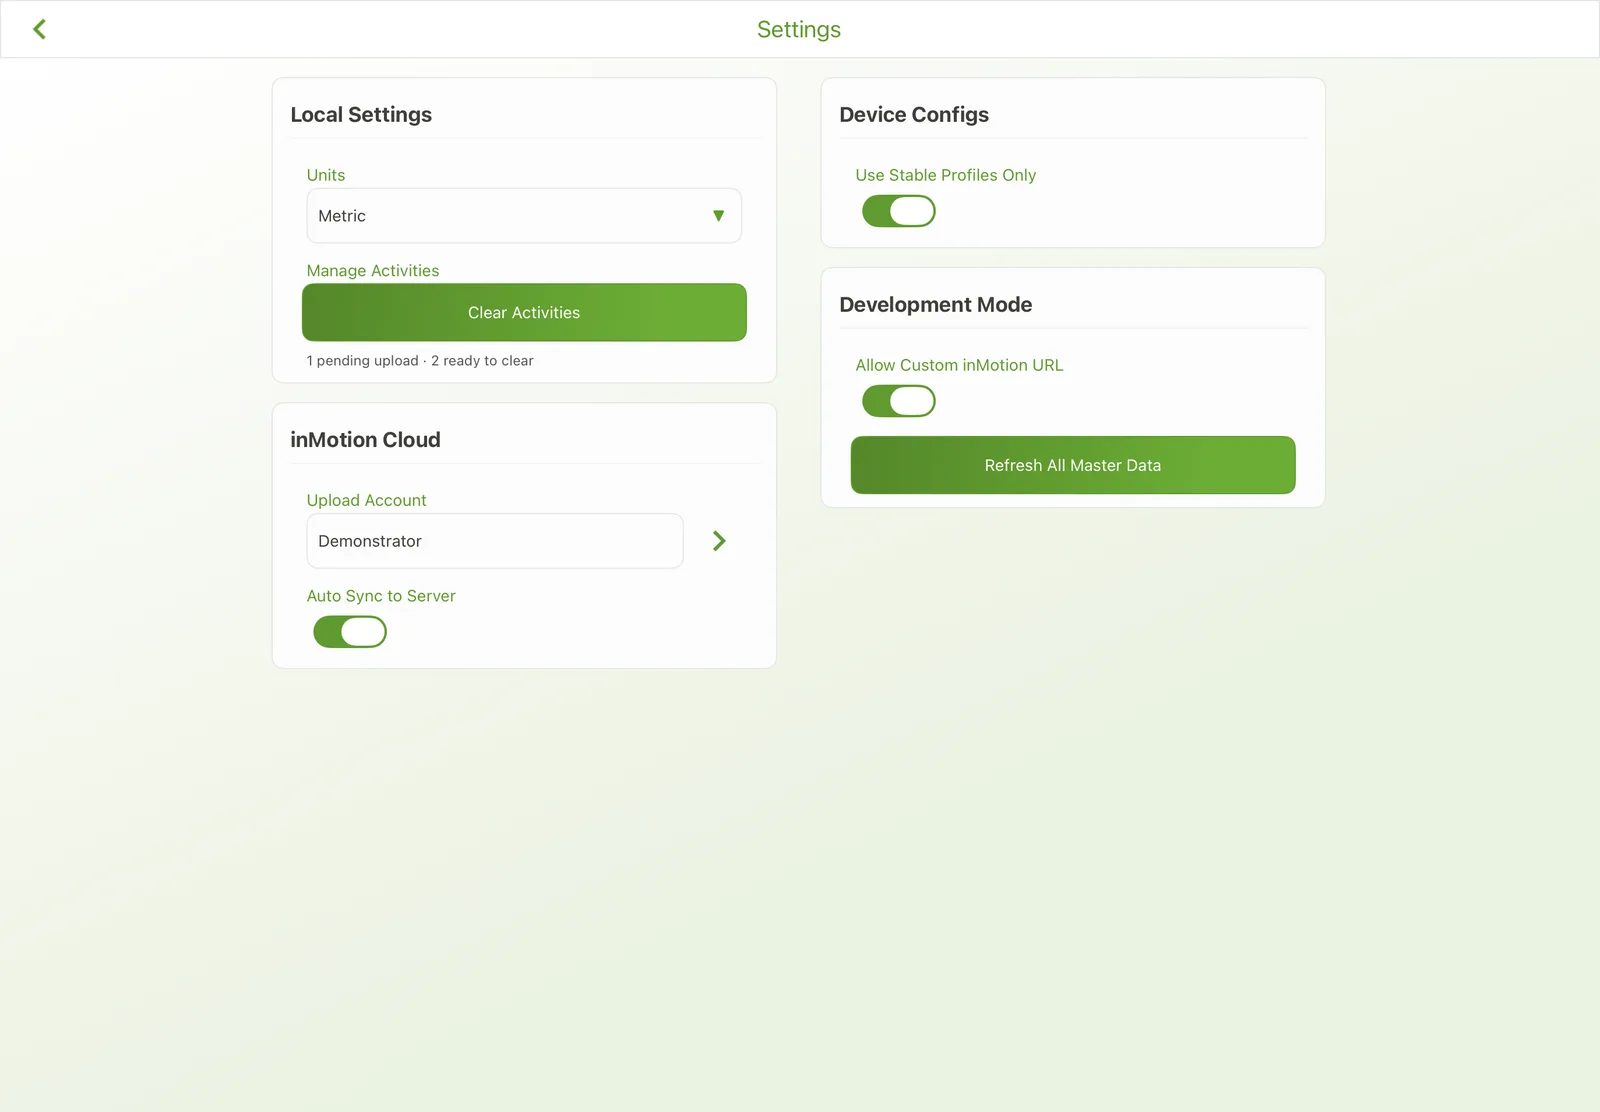
- Which account uploaded data is associated with, and switching to an alternative account.
- Whether activities are automatically uploaded to inMotion Cloud.
- The unit system used to display all data (e.g. metric).
- Clearing the internal database or any unsynchronised activities.
About
The About screen shows information such as the app version, which is useful to have on hand when contacting the
inMotion Support Desk.